
Dividing Dahlias The Dilly Dally Way
- Apr 1, 2025
- 6 min read
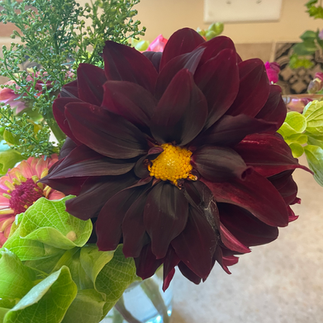
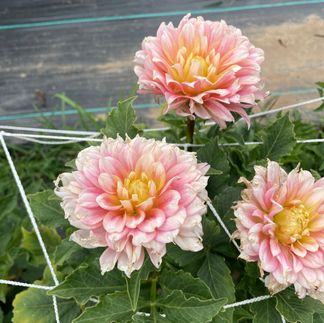
Cameron became utterly obsessed with dahlias shortly after we started growing flowers, and for good reason: they are GORGEOUS! While we only grew 30 total dahlias last year of just a few different varieties, we are aiming to grow over 100 this season, with 23 new varieties as part of the group. Below, I go over some basic information on where they come from, the diversity in the species, and a step-by-step look at how we divide our tubers and take cuttings in order to multiply our crop.

Dahlias are native to the mountainous regions of Central America, which have climates much different compared to many others around the world. However, this hasn’t stopped gardeners everywhere from planting, cultivating, and sharing this beautiful flowering plant, especially yours truly! There are even official Dahlia Societies in most every US State (Here is Indiana's!) where growers share their new varieties, tips and tricks, and general love for the flower.
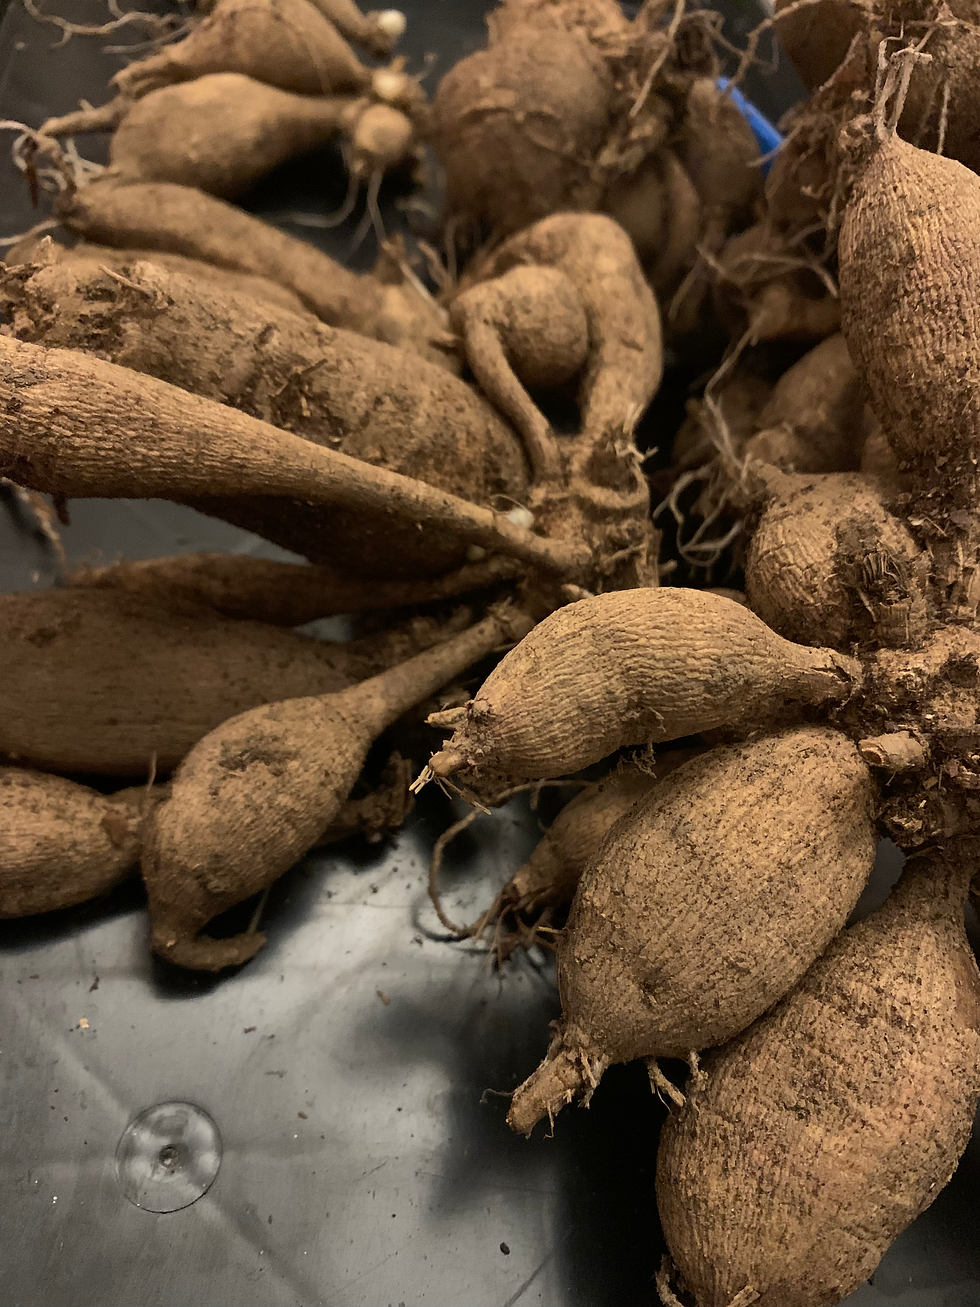
All Dahlias look like potatoes. But wait, you just told us how amazingly varied and beautiful this flower is, how can this be?? Dahlias happen to be perennial plants in their native ecosystems, as well as in climates that make them happy; mainly those that don’t get hard freezes or heavy rainfall during the winter. Perennial flowers typically go through a cycle throughout the year that results in a period where they bloom and go to seed, then store their remaining energy somewhere during a rest period. Ranunculus use their corms for energy storage, tulips use bulbs, peonies use roots, and the dahlia uses what are called tubers. These tubers are brown and lumpy with “eyes” on them, much like a potato! Stems come from the eyes, otherwise known as the growth points. Throughout their time in the ground, the initial tuber creates a bunch of other tubers and eyes, just in case the original dies before the next bloom season. As you can see below, these guys can get huge!

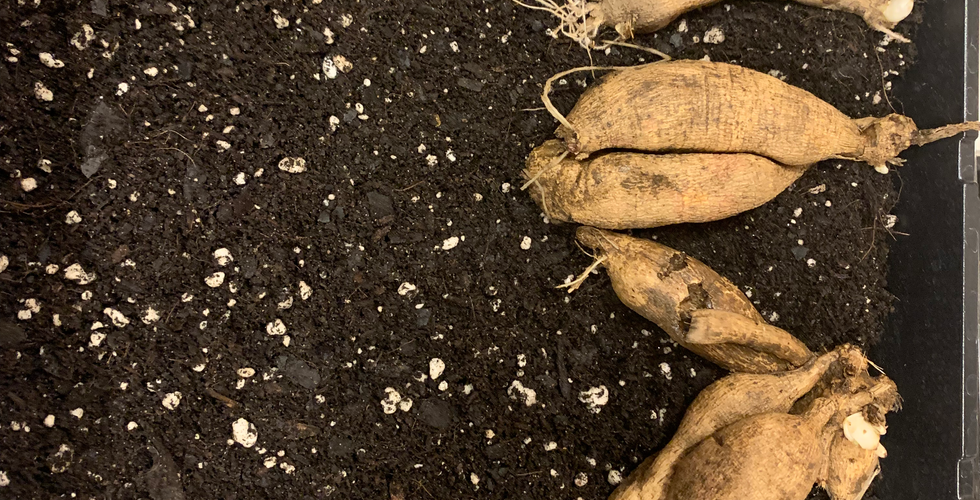
As farmers, we can benefit greatly from the dahlia’s survival strategy. That one tuber, which originally gave us a single plant can now give us so many more. To multiply our crop from the original source, we use two different techniques: “dividing” and “taking cuttings”. Dividing is fairly straightforward; you take the clump of tubers and cut it into separate pieces. There are a few rules for this to make it more successful.
Each new piece should include:
A tuber at least the size of a triple-A battery or your pinky finger
A neck – this typically appears as a more narrow section of the tuber, which attaches the individual tubers to the main body.
A portion of the main body WITH at least one eye (a raised bump on the main body)
This is where things can get tricky. Unless you have crazy good eyesight or have done a whole lot of dahlia dividing, finding just one eye can take a while. And even if you are really good at finding those suckers, dahlias don’t’ necessarily have a balanced tuber-to-eye ratio. So even if you’ve got a dozen tubers, you might just have seven eyes, rendering those 5 other tubers as mere decorative lumps. Finally, as you can tell, these babies grow however they want to! Often, trying to cut out a section that meets all of the criteria can feel like a brain teaser. So what starts as a massive clump that appears as if it may give you 10 good divisions, may end up giving you just 3. Regardless, you’re bound to multiply your stash to some extent, so don’t be afraid to try! These individual tubers can either be planted right into the ground safely after your last frost date, OR you can take it one step further and multiply your crop AGAIN before you get those babies in the ground.


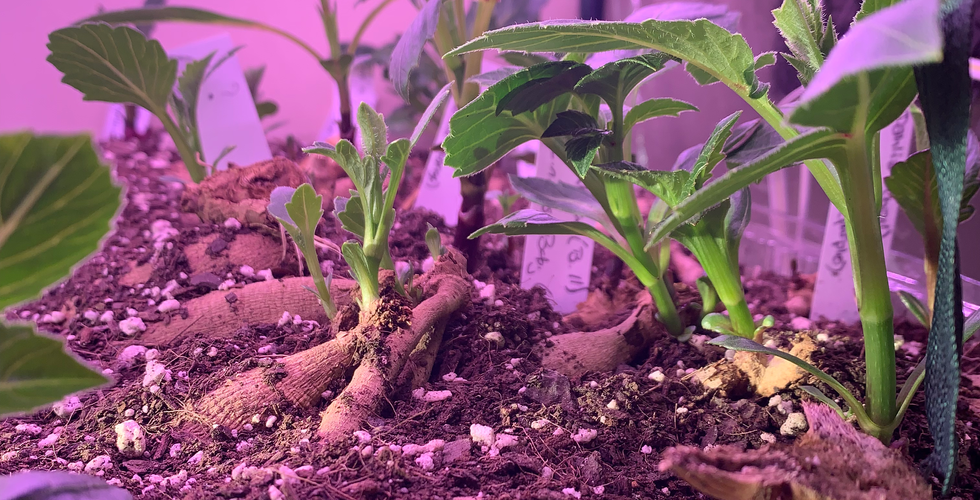
This other method of cloning is called “taking cuttings”. You may be familiar with this form of propagation from other flowers, shrubs, and houseplants. Taking cuttings is a method of plant duplication that requires you to literally CUT a portion of the plant and place it in either water or soil so that it develops its own root system, and then you can plant it as a new plant, ta-dah! This process does require a waiting period before it can be done, as there needs to be some amount of foliage on the tuber before you can proceed. As you can tell from the previous photos, these tubers are mostly bare and more or less dormant at the point of dividing. In order to get some leafage to cut off of the tubers, they need to be woken up, politely, and with some attention.
We lay several of our tubers in a flat with a blanket of our soil mix on top to provide even moisture. If you are trying this out, be sure to leave the eyes above the soil and facing up so you can easily see when the eyes start growing stems. Place these trays under lights that promote foliage growth to encourage the formation of stems and leaves from the eyes. Be sure to maintain a consistent “moist” level to the soil in order to keep them happy and healthy. Too much water can lead to rotting, and too little will allow the tubers to dry up. If the tuber looks healthy with no mold, rot, or dryness, but never pops a sprout, toss it; there’s no use wasting water, space, and time on a tuber that isn’t viable. There have been times where what we thought was an eye have turned out to be just a regular bump in the tuber’s surface, and those tubers won’t do much for you unless you want to eat them!


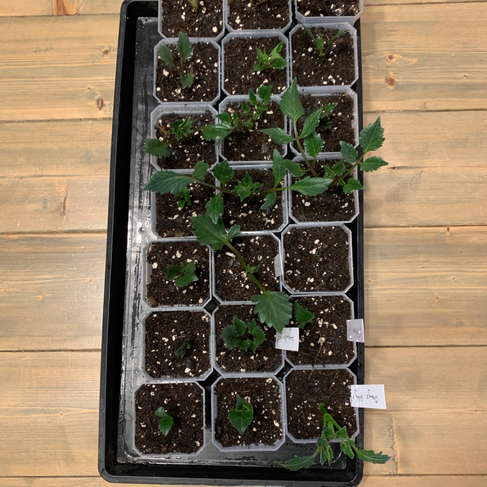
You have a tuber or two with beautiful green growth, now what? Prepare by filling either a multi-cell tray (72 or 50) or a tray full of larger cells with your preferred seed starting mix. It helps to pre-moisten your mix before starting as well, add enough water to make the soil “spongy” but not dripping wet. You will also want to have your trusty pair of snips cleaned and ready, as well as a rooting hormone available. Once you have all of these things ready, follow these steps:
WRITE A LABEL with the flower’s name and the date you are taking the cutting
Without removing the tuber from the soil, cut the stem at its base, being sure to cut a sliver of the tuber with it
Remove the lower set of leaves
Dip the cutting into your rooting hormone, tap to remove excess
Place the cutting into your prepared soil cell, and place label into cell with it, repeat until all cuttings are taken
Bottom water for 45 minutes, dump excess water
Place your tray(s) of cuttings under grow lights, with lights 2 inches above the highest cuttings.
There are a couple of different methods for this, but this is what we have found works best for us.


After this, the cuttings will continue to grow and start their own tubers and roots. Once your growing zone’s last frost has passed, you can plant these cuttings out into the yard (or into a pot if preferred). As always, there will be stumbling blocks along the way, so be sure to have patience and curiosity in your toolbelt throughout the process. Sometimes things don't grow the way you planned, and that's okay because trying something new can be the most rewarding part of something, so go find yourself some Dahlia tubers and try this out yourself!


Comments